Haptic Glove Update

Listing of accomplishments made by all group members for the previous week

  1. Got the LED to work with the Unity system
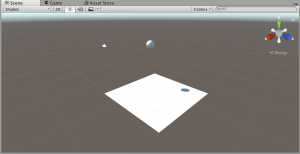
  2. Created prototypes of the wire housing and connection types.
  3. Considered different options to trigger haptic feedback, such as weaving the wire, or linking it.

A description of problems encountered and outstanding issues

  1. Conflicting results with SMA, possibly due to way the wire was spinned together, to many wires absorbing load, or power supply.
  2. Troubleshooting problems with activating the gravity mechanic in Unity, getting to know unity’s physical game engine,

A plan for the next week of work

  1. Sink or swim
  2. Abort memory wire if conflicting results persist, pursuing alternative haptic responses
  3. Finish with the Unity integration, and look towards integrating leap motion.
  4. Develop the housing and other concepts into integration of the glove.
Sirena 4/4/17

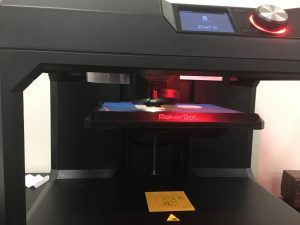
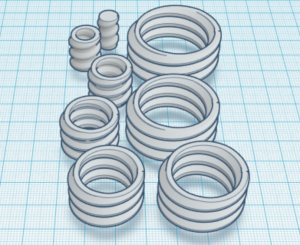
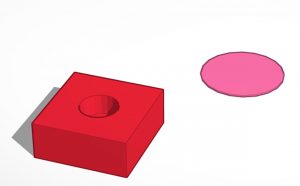
This past week Emma was able to start 3D printing and get a better idea of how the design and tech could possibly all work together. The first print took about 3.5 hours and some challenges did arise. The first print didn’t actually end up working very well. The Simblee didn’t fit very well into the 3D printed case that was designed. Next steps include altering the sizing of the case and getting a better idea of whether the entire bracelet can be 3D printed or not. The idea behind them is that the simblee with the button attached at the top can slide right into the case, with the second circle piece resting right above the button. This way, when the user pushes down on the circle opening, there would be more surface area for the button to be pushed. With the next design, Emma is trying to get that hole turned into an indent similar to the iPhone home button concept.

Screenshot of print from TinkerCad

3-D printing in process

Keegan worked on cleaning up the Arduino code for the vibration motor and beginning the user interface used through the Simblee for mobile application.  He was able to integrate both codes into the same one. This means the vibration motor will be working correctly while the user interface of the app runs. Keegan has been able to communicate back and forth between the iPhone app and the Simblee and update aspects of the app, however this was through found code (www.instructables.com) and is not the exact function we want. The next step will be implementing the idea from the found code into the function we want to see.

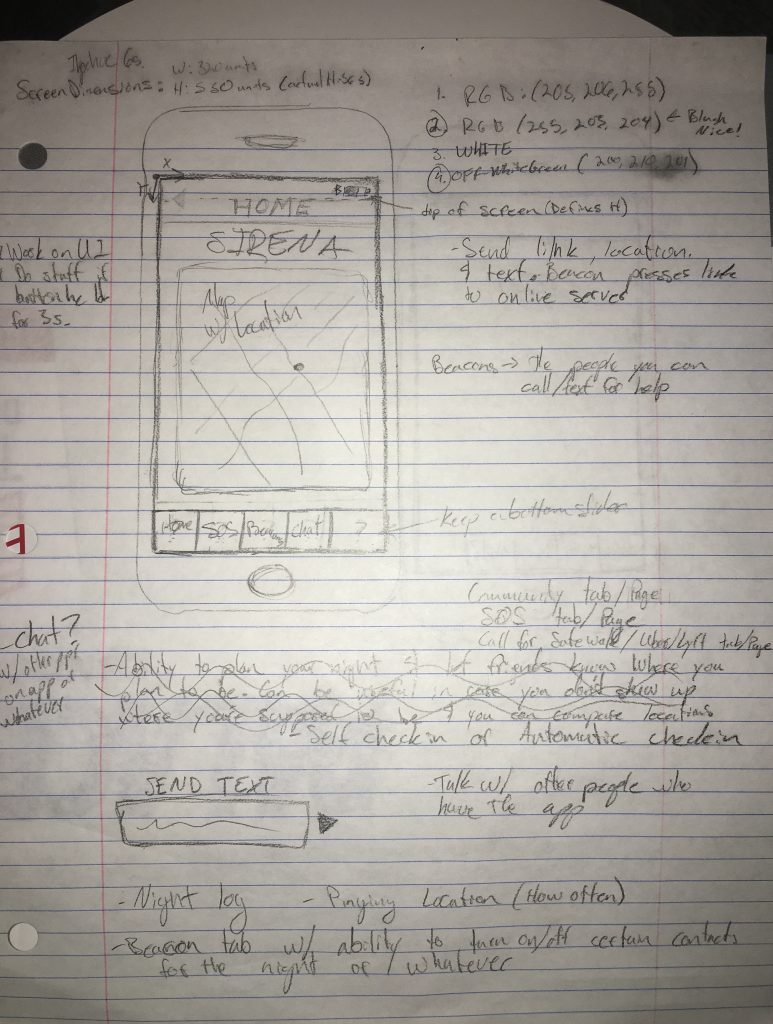
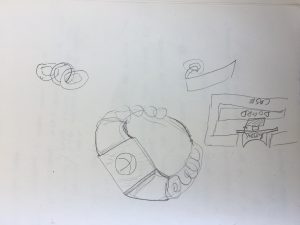
As a group we were able to get together and start brainstorming on ideas to use in the app and what we would like to see in a finished product. Some ideas included; having four different pages with a home page, the SOS page, a Beacons page (your chosen contacts), and a chat page. We’re currently working on the exact things we want on each page but have some ideas. The photo below is from our brainstorm.


Back to the Drawing Board

  • Last week
    • After meeting with Rich in the printing room, I got re-inspired to work on my original design. I completed drawing the second version of the heel components and sent them to be printed. I’m glad that I know that there is a very affordable way to print the pieces, but the delivery timing is a bit unpredictable.
  • This week
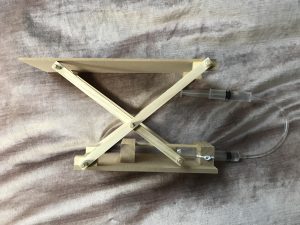
    • I am going to attempt to construct a hybrid of my two designs and a suggestion that Kevin (student) had that would allow me to use a hydraulic movement rather than the rotary motor.

Unconventional Honesty Post 4

Last week, we focused on our jacket, which has been stripped down, and pockets are being sewn on. The jacket was a great find at only $7 from a thrift store! We have also started working with out neopixels, but we found out the the cables had been connected wrong! Andres sorted the issue by welding the correct cables on and we’re ready to continue testing them this week. We also had some difficulty with our coding of the neopixels, which was due to a bad connection with our Arduino.

For next week, we are going to continue our work on the coding, make the neopixels work, and attach the heart rate monitor. The jacket will be further prepped, and we will get organza by thursday to start attaching to the jacket.

EoS Week 4

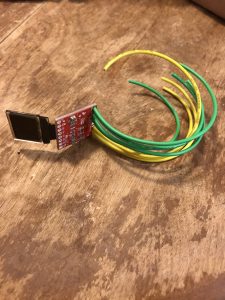
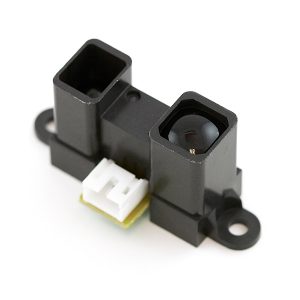
Progress: Soldered wires to the OLED and got it displaying the correct readings from my new range finder module. I couldn’t show it in a video since I don’t have a way to connect the wires, I don’t have a wire cutter and didn’t want to ruin the wires and re-solder them again.

Problems: None so far, just need to solder and calculate my power needs.

This Week: I’m going to solder everything together on Tuesday, so I’ll attach the Arduino, OLED, and the range finder so that I can work on the lens and the battery needed. Hopefully I can get the right battery and charger circuit Tuesday as well, getting the wrong one and frying my circuits would be extremely unfortunate. Once I get the battery and charger I can finalize the housing which I can base off of the heads up display example from my first post.

Project Post #3 Aurora

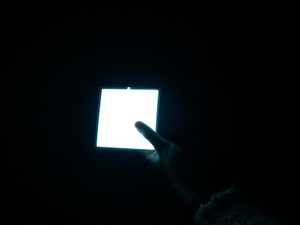
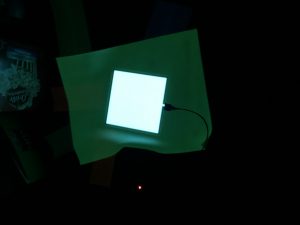
  1. Finalized laser cut patterns, ordered el panel power source, and samples of neoprene
  2. Trouble deciding on final sketches and design.
  3. Plan on finalizing my sketches and finish final laser cut pattern design, I want to get to the laser cutter eventually and do a test pattern. I will also begin seam ripping my jacket and begin to make a flat pattern of off the jacket’s measurements. This I will need help on! I also plan on ordering final materials asap.

Week 3 Post – Haptic Glove

An image or video

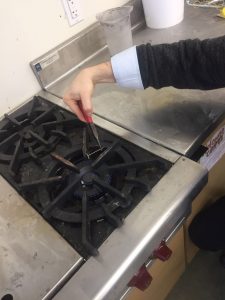
  1. Tried to use high temperature to shape the wires
  2. Tested the elasticity of the wires

  3. Bouncing ball scene in Unity
     A Listing of accomplishments made by all group members for the previous week

    1. Figured out how the wire worked and how to shape it
    2. Ordered new wires with better elasticity
    3. Created the bouncing ball scene in Unity

A description of problems encountered and outstanding issues

  1. Figure out what kind of glove do we need. (Thin, Good malleability, Thermal insulation)
  2. Still try to find a way to shape the wires
  3. Combine different functions in Unity to work together
  4. Figure out the best way to braid or twist the wire together to simulate the simulated effect.

A plan for the next week of work

  1. Test the new wire. If it works, we will implement it our gloves. If it does not work, we will go to our backup plan.
  2. Keep working on Unity
  3. Figure the best way to attach the wires to the glove without risk of superheating materials at the wire/SMA point of contact.
  4. Figure the best type of elastic band to use that will compliment the design as well as not melt to the connection.
  5. Start to consider aesthetics of the final product.  

Changing Tides

  • Last week
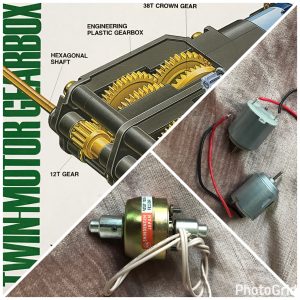
    • Looked for parts at American Science and Surplus and found several types of motors and a hydraulic lift kit. After some contemplation and a realistic look at the time remaining to complete this project, I think I am going to pivot to my back-up plan and make and adjustable wedge instead of a heel. This will involve using a hydraulic scissor lift, which is much easier for me to understand than the rotary motor.
  • This week
    • Build scissor lift and shoe frame.
    • Work on understanding the Bluefruit component.

Sirena 3/28/17

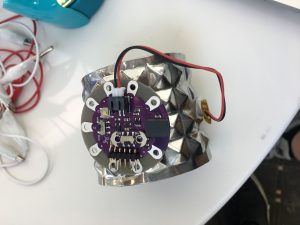
On Thursday Emma was figuring out how she could possibly 3D print part of the bracelet so all the tech won’t show or be felt when the bracelet is worn. Thought of using the 3D printer to print a sort of square box that the simblee and battery could sit in, which would allow the button to be pressed from the exterior wearer.


Planning to continue to work on the 3D printing concept this week using TinkerCAD.


 Using a large cuff right now to have an idea of what the prototype could look like.
 

On Tuesday Keegan was able to get the Simblee up and running with code to use a vibration motor uploaded from computer to laptop. This was a step in the right direction, but the next step will be trying to upload code through Bluetooth not just through a corded connection. The Bluetooth on the Simblee was proven to work to at least his iPhone though the Simblee mobile application.

The uploaded Simblee Bluetooth code was for a temperature probe or just the internal temperature of the Simblee device. This code was fairly basic (and already completed) but it was still exciting to see the iPhone connect via Bluetooth and display a temperature value that actually responded to temperature changes.

Moving forward with code we want to work on how to program via Bluetooth and work on using time in the code. I haven’t quite figured how to work in sending a signal after a certain amount of time has passed. In my head it should be a simple if== “HIGH” for 3 s…then “do this” but the code has not worked out so simply.

EoS Post 3

Progress: This post is in the wake of a minor setback, I was unable to figure out how to use the previous range finder after spending a week poking and prodding it with various settings. So I started my fallback plan and ordered another range finder off of sparkfun, this one goes up to about 6 feet which is decent for showing the application of the EoS. It should arrive Thursday so I’m hoping I’ll have it before class.

Problems: The biggest issue over the past 3 weeks was trying to decipher the cryptic range finder module I originally got. I’m receiving some sort of data from it but I could not figure out what it was/meant and it made minimal to no sense to me. I would get a value of 0 when measuring distance no matter what setting I’d use and I switched up to about every setting under the sun.


Plans: My plan for this week is to solder the arduino to the OLED screen and get that reading correct numbers. Then if I have the range finder I’d like to also solder that to the arduino and get the code written down. Lastly I will figure out my power needs and order the battery and the charger circuit, which when that all arrives I’ll be able to start creating some models of the casing I need since this new range finder is a different shape and size than the old one.